Getting Started
Getting started is relatively simple. Step one, if you haven’t already, is to create your own Snowflake account, of course.
Creating Your Snowflake Account
At this time, we only support Snowflake accounts that are in the US-East region, so please make sure you create your account there. Don’t know where to go to create your Snowflake account? The signup page is a good start.
Now, Create Your Pollen Account
We know, creating two accounts is a hassle. We wish there were another way! But, given that there isn’t, please take note of your Snowflake account number and then go to our Snowflake access page to create an account at Pollen and then tell us what your Snowflake account id is.
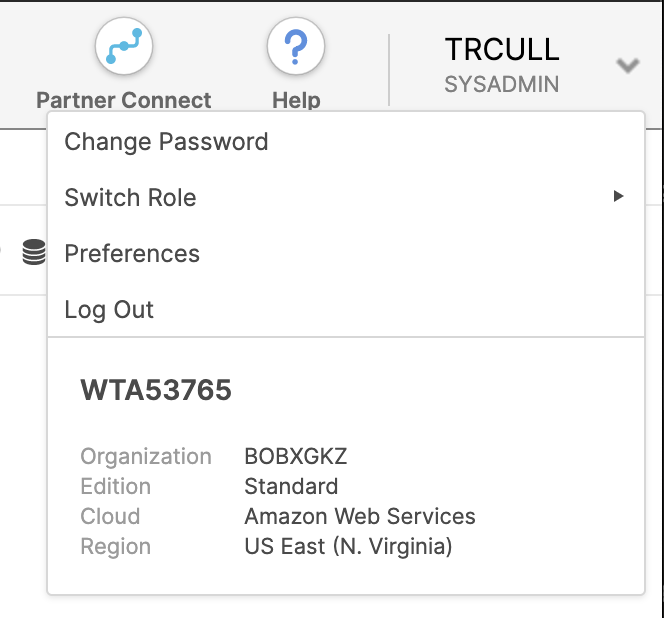
PS: if you don’t know where your Snowflake account number is, it’s in the upper right corner dropdown when you’re in the Snowflake console, like the “WTA53765” in this screenshot:
Now, Set Up A Database From Our Share
The way Snowflake shares work is first we “share” out the data from the Pollen side and then you create a database backed by that share on your side. The command will look like this:
create database <name> from share WTA53765.cmip6
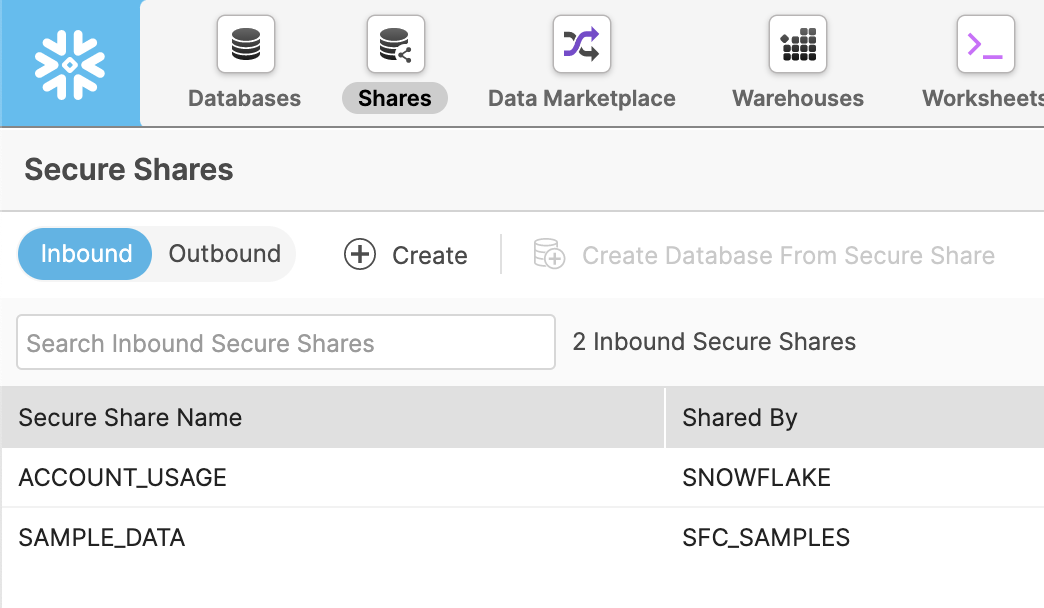
Or you can also do this in the Snowflake UI under the “shares” section, like in this screenshot:
Once created, all the tables should show up in that database for you to join with the rest of your private data. Have any trouble? Please email us at support@pollen.io so we can get it sorted out!